Why did you choose SIMULIA? First, Abaqus is powerful and can solve most structural problems. Second, fluid-structure coupling is convenient. STAR-CCM+ comes with a case that shows you how to couple with Abaqus bidirectionally. Third, it is the inertia of past experience. After all, automobile companies use Abaqus a lot, and there are a lot of cases and resources.
1. Preparation
First install the development environment and some necessary software:
sudo apt update # Update software sources
sudo apt upgrade # Update locally installed software
sudo apt install build-essential # Installing the Development Environment
sudo apt install csh tcsh ksh gcc g++ gfortran libstdc++5 build-essential make libjpeg62 libmotif-dev
解压安装包:
mkdir iso # Create a new iso folder to store the decompressed files
tar xvzf DS.SIMULIA.SUITE.2024.LINX64.tar.gz -C ./iso # Unzip to the iso folder
2. Installation process
2.1 Start the installation program
First, define the environment variables, otherwise the installation program cannot be started:
# You can add the following content to ${HOME}/.bashrc and restart the terminal
export DSYAuthOS_`lsb_release -si`=1
export DSY_Force_OS=linux_a64
export NOLICENSECHECK=true
Enter the /iso/1 folder and run the installer. Start the graphical interface and run ./StartGUI.sh in the terminal. It is similar to the installation method under Windows. Just follow the wizard step by step.
Select the text interface here:
./StartTUI.sh # Start the text interface installation wizard
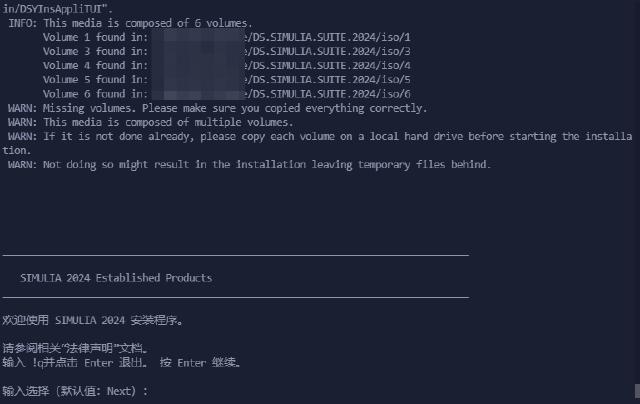
Enter to next step.
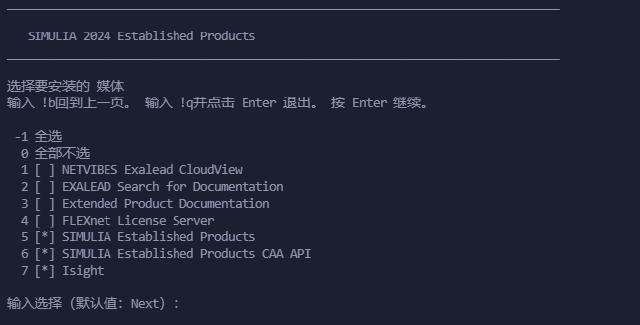
4, which means FLEXnet License Server. Type 4 and then Enter to continue.
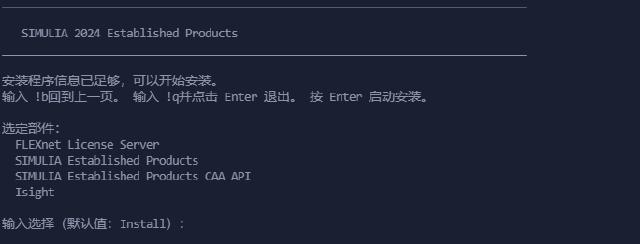
Enter to start the relevant installation program.
2.2 Installing the License Server
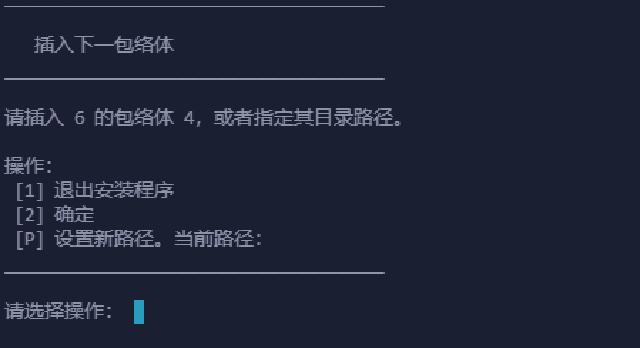
P and enter the absolute path to the /iso/4 folder.

${HOME}/opt/SIMULIA/License/2024. Enter the absolute path.



2 to continue.
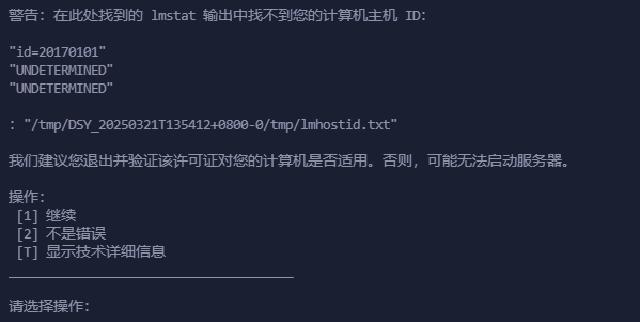
2.
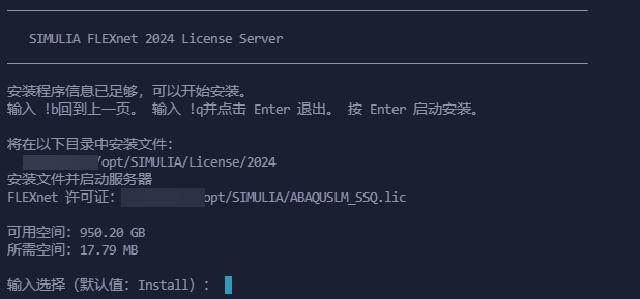

Enter to continue the next program installation.
2.3 Install the solver

P and enter the absolute path to the /iso/5 folder.

${HOME}/opt/SIMULIA/EstProducts/2024.
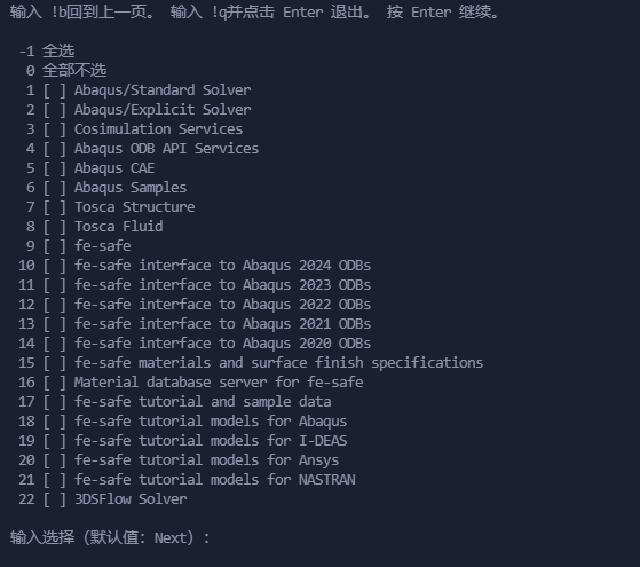
-1.
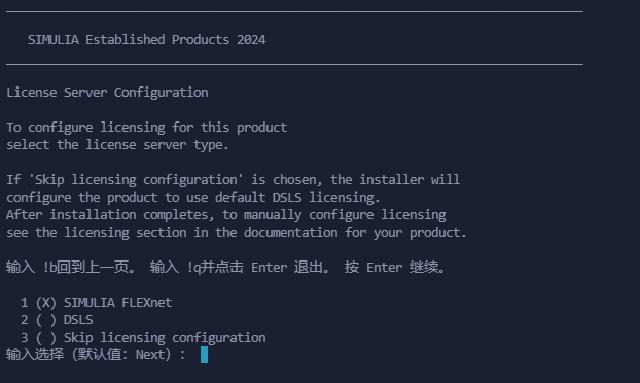
1.
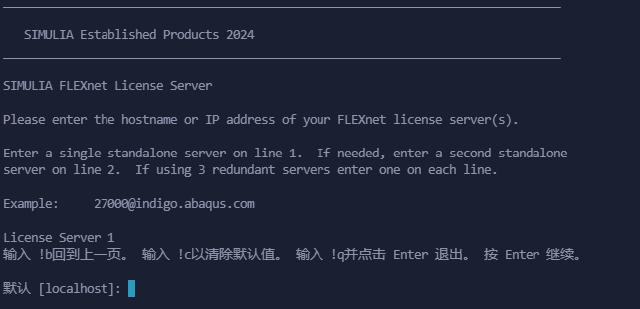
29100@localhost to define License Server 1, and skip the rest by pressing Enter.
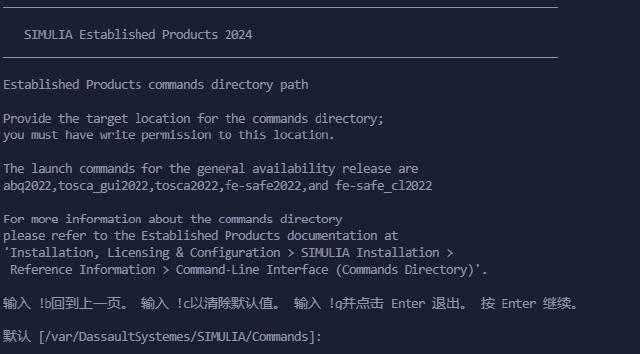
${HOME}/opt/SIMULIA/var/DassaultSystemes/SIMULIA/Commands.
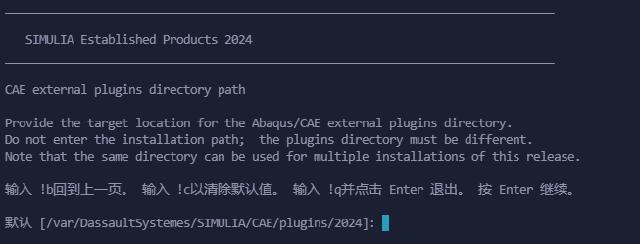
${HOME}/opt/SIMULIA/var/DassaultSystemes/SIMULIA/CAE/plugins/2024.
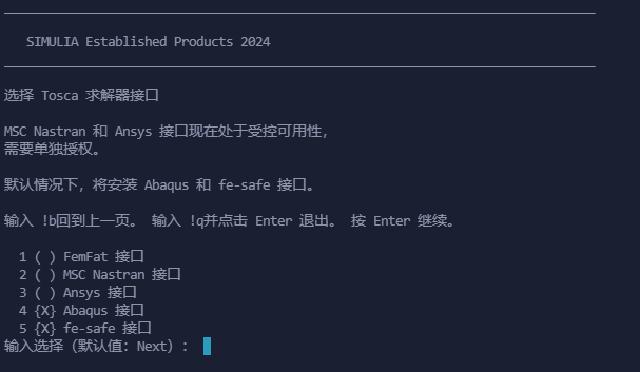
Tosca interface according to actual needs.

Tosca Fluid working directory, which is assigned to ${HOME}/temp.
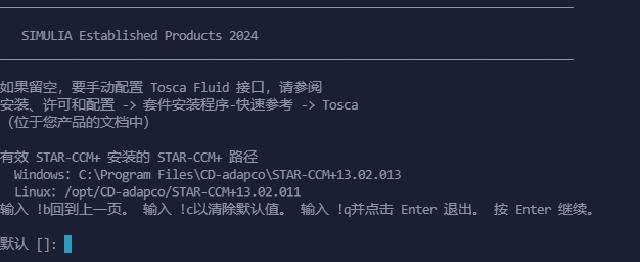


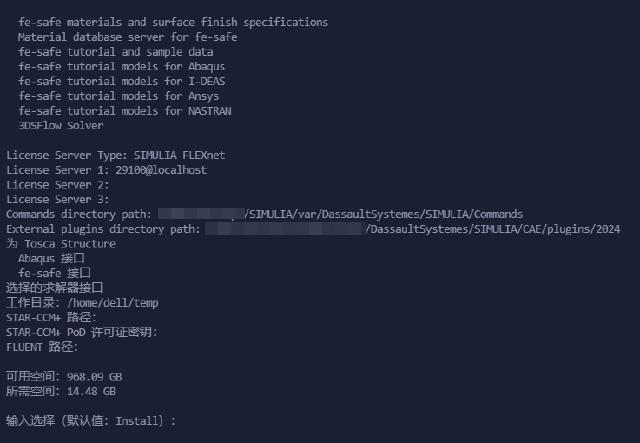
Enter to start copying files.
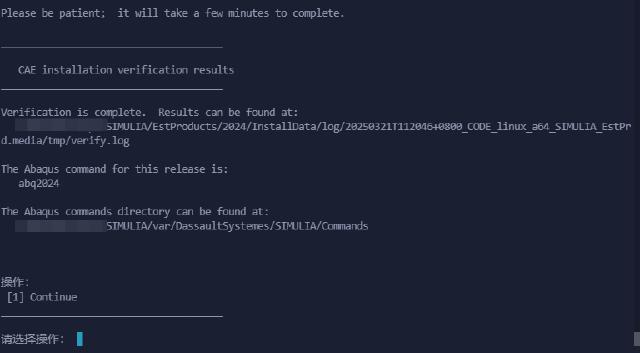
Enter to continue.
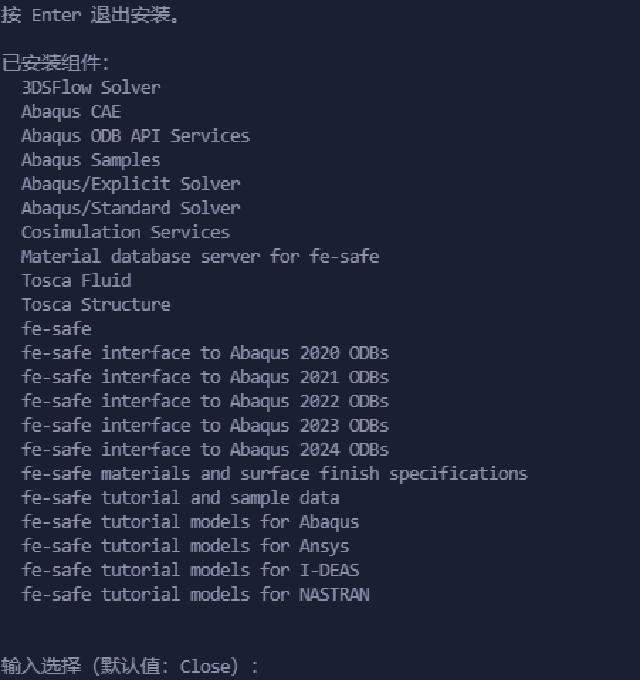
Enter to exit and enter the next installation program.
2.4 Install CAA API
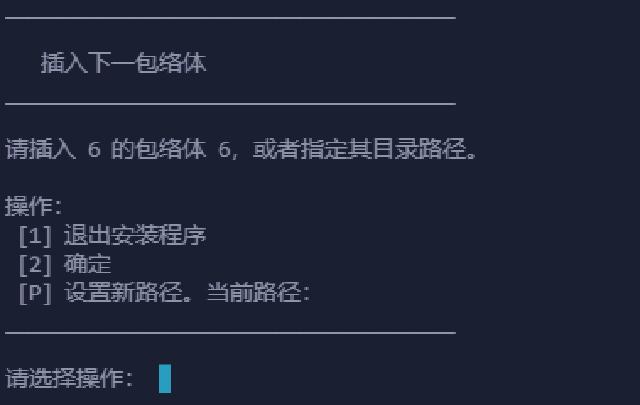
P and enter the absolute path of the /iso/6 folder.

${HOME}/opt/SIMULIA/EstProducts/2024.
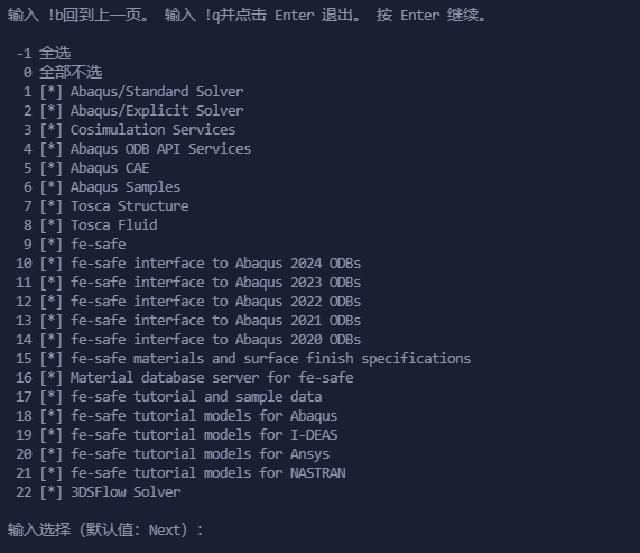
Enter to continue.
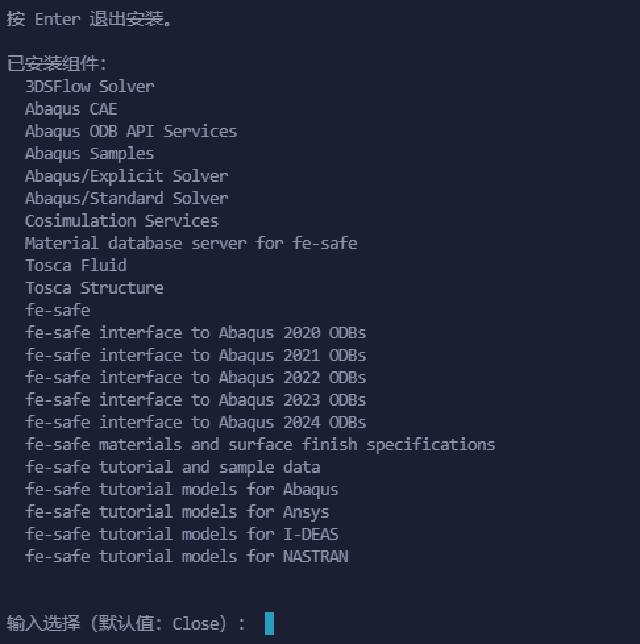
Enter to exit.
2.5 Install Isight

${HOME}/opt/SIMULIA/Isight/2024.
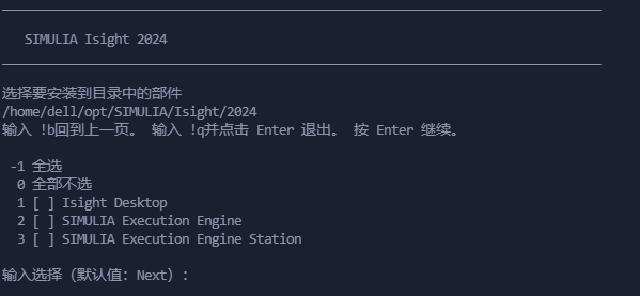
-1 selects all.
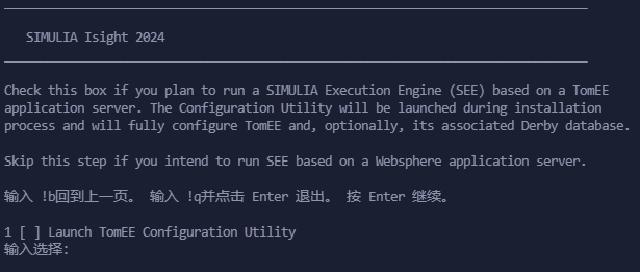
TomEE configuration tool, skip by default.
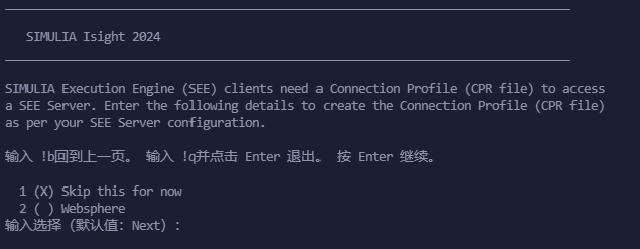
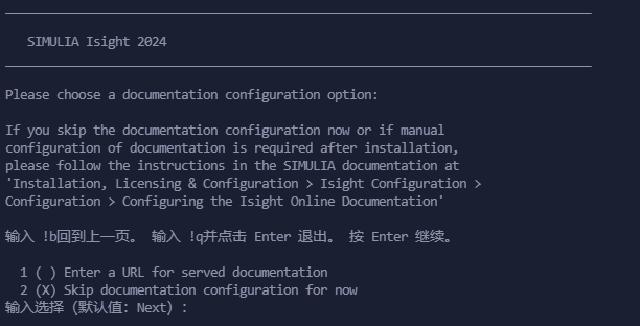
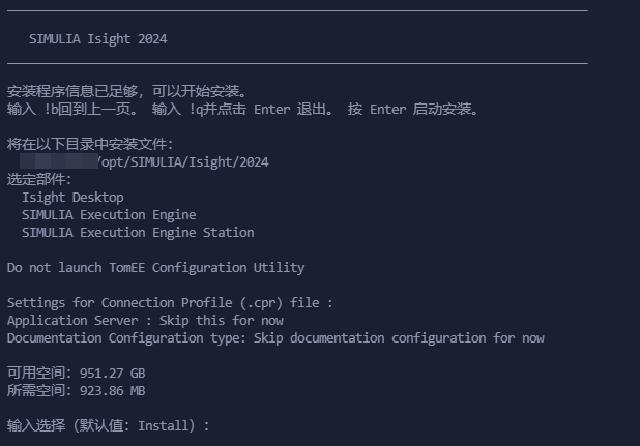
Enter to start copying files.
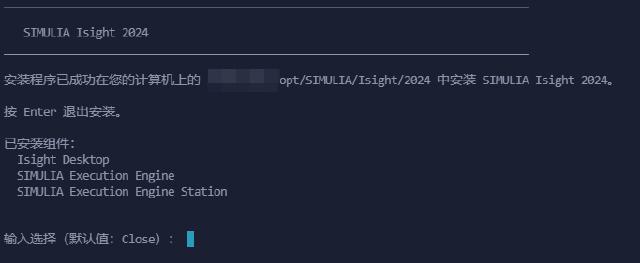
Enter to exit.
2.6 Installation completed
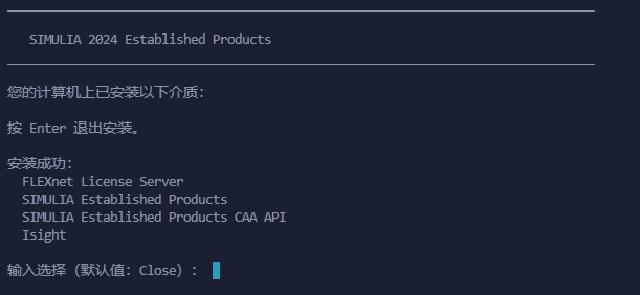
Enter to exit the SIMULIA installation program.
3. Post-installation configuration
3.1 Startup configuration
Before starting, modify the configuration file:
vim ${HOME}/opt/SIMULIA/EstProducts/2024/linux_a64/SMA/site/custom_v6.env
Add two lines at the end, save and exit:
license_server_type=FLEXNET
abaquslm_license_file="29100@localhost"
Create a new environment variable configuration file:
touch ${HOME}/opt/SIMULIA/simulia24.env
chmod +x ${HOME}/opt/SIMULIA/simulia24.env
vim ${HOME}/opt/SIMULIA/simulia24.env
Edit the content as follows. It is best to use absolute paths, save and exit:
export LICENSE_PREFIX_DIR=${HOME}/opt/SIMULIA/License/2024/linux_a64/code/bin
export SIMULIA_COMMAND_DIR=${HOME}/opt/SIMULIA/var/DassaultSystemes/SIMULIA/Commands
export PATH=$SIMULIA_COMMAND_DIR:$LICENSE_PREFIX_DIR:$PATH
export LM_LICENSE_FILE=29100@localhost
Run the following command to load the environment variables:
source ${HOME}/opt/SIMULIA/simulia24.env
Start the Abaqus graphical interface by using the following command1:
abaqus cae -mesa
abaqus view -mesa
3.2 License installation problem
If Abaqus can be started normally in [3.1](#31-Startup configuration), then this step can be skipped.
Verify whether the license server is running:
ps -eaf | grep ABAQUSLM
If the license server is not running, start the license server with the following command:
${HOME}/opt/SIMULIA/License/2024/linux_a64/code/bin/licenseStartup.sh
The startup failed, and the error message is as follows:
/home/***/opt/SIMULIA/License/2024/linux_a64/code/bin/licenseStartup.sh: 2: /home/***/opt/SIMULIA/License/2024/linux_a64/code/bin/lmgrd: not found
There is no solution. Either there is a problem with the installation package or this distribution lacks some runtime libraries. Let’s wait for the experts to help.
Fortunately, the Windows version license can be installed normally. You only need to assign the license path to the Windows machine. First, open port 29100 in Windows Firewall and create a new firewall inbound rule:
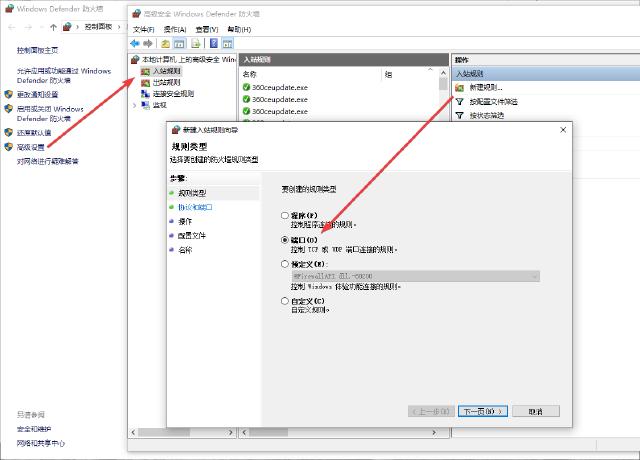
Then modify the license address of the custom_v6.env file in [3.1](#31-Startup Configuration) as follows:
license_server_type=FLEXNET
# abaquslm_license_file="29100@localhost"
abaquslm_license_file="29100@172.25.64.1" # 172.25.64.1 is the IP address of the Windows host
Modify the environment variable file ${HOME}/opt/SIMULIA/simulia24.env:
# export LM_LICENSE_FILE=29100@localhost
export LM_LICENSE_FILE=29100@172.25.64.1
After loading the environment variables, the abaqus cae command can be started normally, and the license issue will no longer be prompted.
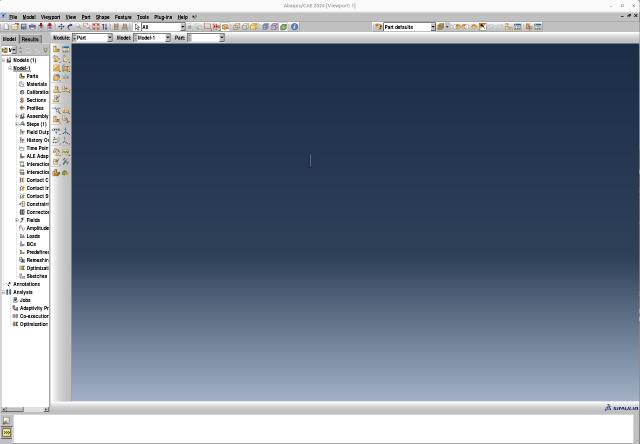
I have to admit that the Linux graphical interface is really not easy to use, but who cares? Anyway, I don’t need to process models or grids under Linux, and I just submit calculations.
3.3 Submit cluster calculation
The Slurm script of Abaqus2 is as follows:
#!/bin/bash

#SBATCH --job-name=abaqus_test
#SBATCH --partition=debug
#SBATCH --output=%j.out
#SBATCH --error=%j.err
#SBATCH -N 1
#SBATCH --ntasks-per-node=32

cd $SLURM_SUBMIT_DIR

source /home/***/opt/SIMULIA/simulia24.env # Fill in the absolute path
export INPFILE=`find . -name "*.inp"`
export ENVFILE=/home/***/opt/SIMULIA/EstProducts/2024/linux_a64/SMA/site/abaqus_v6.env # Fill in the absolute path

# Generate abaqus_6.env file and specify hosts
rm -rf $PWD/abaqus_v6.env
cp $ENVFILE $PWD/abaqus_v6.env
node_list=$(scontrol show hostname ${SLURM_NODELIST} | sort -u)
mp_host_list="["
for host in ${node_list}; do
    mp_host_list="${mp_host_list}['$host', ${SLURM_NTASKS_PER_NODE}],"
done
mp_host_list=$(echo ${mp_host_list} | sed -e "s/,$/]/")
echo "mp_host_list=${mp_host_list}"  >> $PWD/abaqus_v6.env

# Create a Scratch Directory
mkdir scratch.$SLURM_JOB_ID

abaqus job=$SLURM_JOB_NAME input=$INPFILE cpus=$SLURM_NPROCS scratch=scratch.$SLURM_JOB_ID mp_mode=mpi double=both output_precision=full resultsformat=odb int ask=off > $SLURM_JOB_NAME.log
rm -rf $PWD/abaqus_v6.env scratch.$SLURM_JOB_ID
Put the inp file and the script in the same folder and submit the script using the sbatch command. After the calculation is completed, download the results to your local computer and view the results using Abaqus Viewer or Meta.
